
 1918
1918
The Z-Box integration for Home Assistant lets you bring your Z-Box–connected Z-Wave devices into the Home Assistant interface for even greater flexibility and control. With this integration, your Z-Wave devices remain managed and programmed through the Z-Box web UI, but you can link them in Home Assistant to create powerful automations and scenes with your other connected devices.
Because Home Assistant is an open-source platform that supports a wide range of technologies—including Zigbee, Wi-Fi, Bluetooth, and more—this integration significantly broadens what your Z-Wave and Z-Wave Long Range devices can do. You can combine Z-Wave sensors, switches, and plugs with devices from other ecosystems for unified automations, all within one customizable dashboard.
Keep in mind that this integration connects the Z-Box to Home Assistant—not the other way around—so Z-Wave device management remains within the Z-Box interface. Home Assistant is free to use locally (its cloud service is optional), giving you an affordable and versatile way to expand your smart home setup.
Thank you to @rappenze for this thoughtful community contribution! 👏
The Z-Box Hub virtual integration was introduced in Home Assistant 0.83, and it provides the following:
- Control devices connected to the hub and synchronize the state of the devices (see platforms for supported devices and capabilities).
- Entities are automatically added when configuring the Z-Box integration and upon restart of Home Assistant when changed in the Z-Box hub.
- Support for multiple hubs.
- Activate scenes defined in the Z-Box hub.
- Use event entities to trigger your Home Assistant automations based on a button press event on a device.
It is recommended to assign a static IP address to your Z-Box hub. This ensures that it won’t change its IP address, so you won’t have to change the url if the controller reboots and comes up with a different IP address. See your Wi-Fi router’s manual for details on how to set this up.
Supported Device Types:
- Binary sensor
- Climate
- Cover
- Event
- Light
- Lock
- Scene
- Sensor
- Switch
Installation Instructions
1. Access the link here. This will take you to the screen below. Click Add Integration to My Home Assistant:

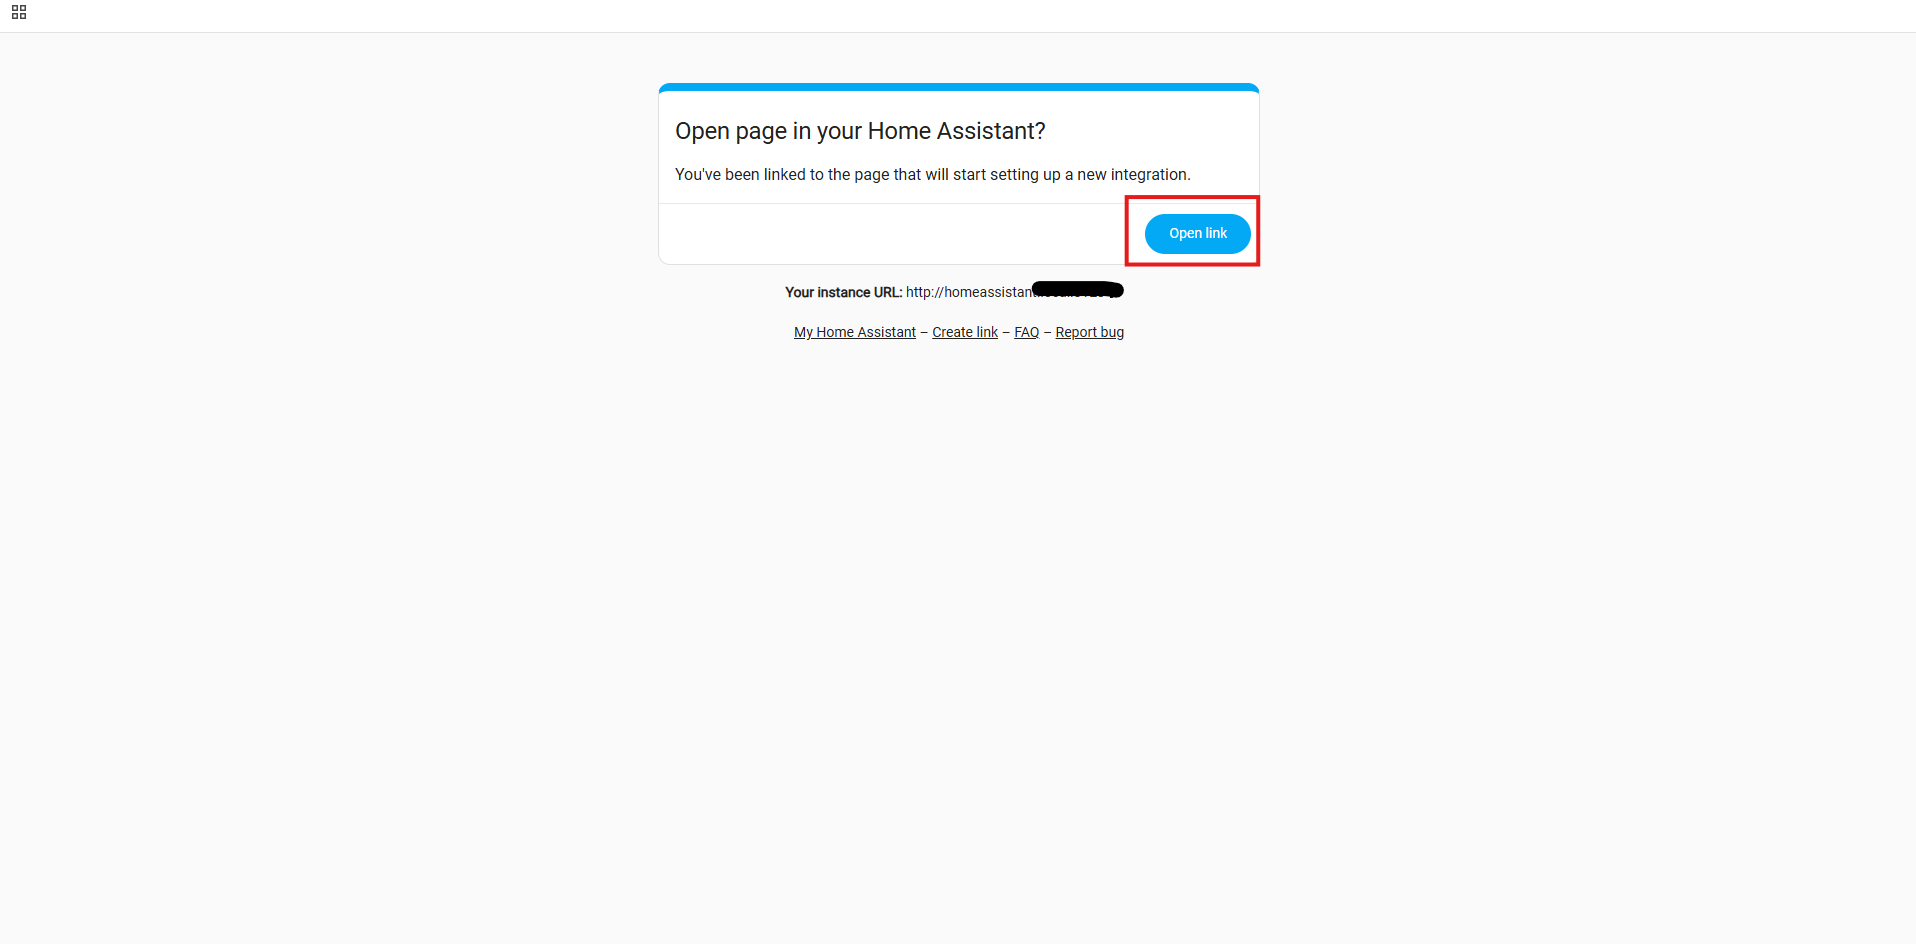
2. Click Open link:
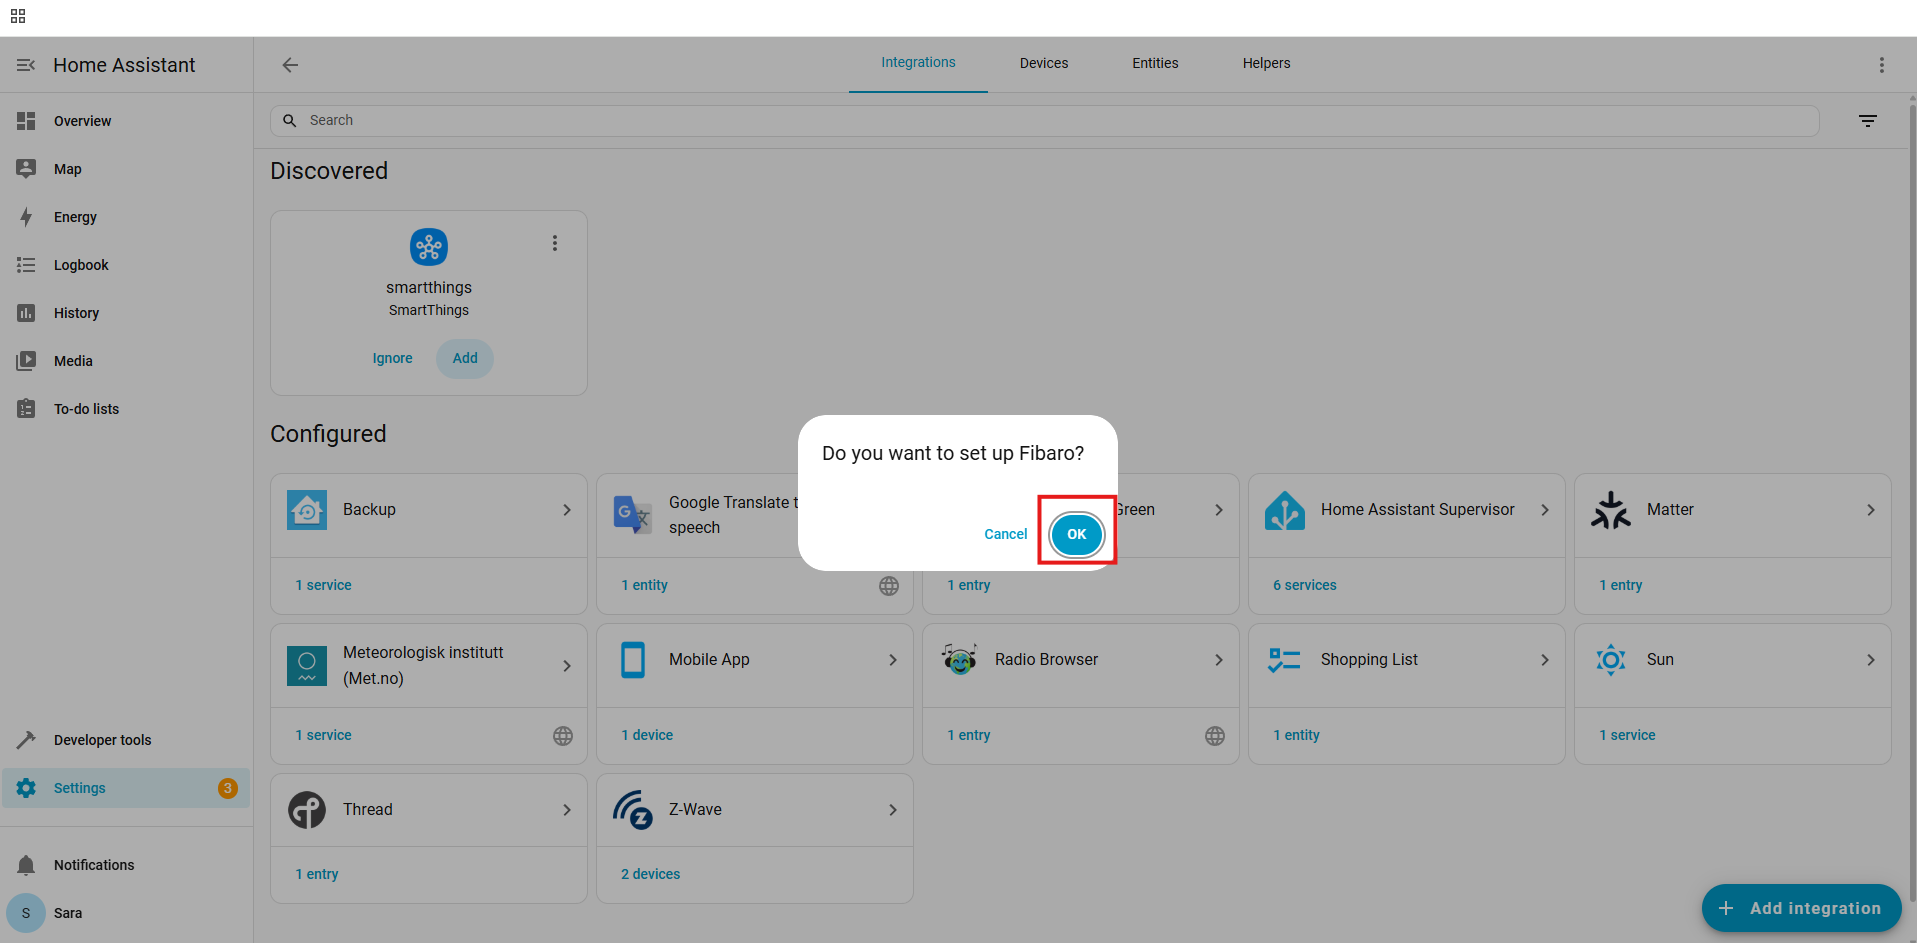
3. A window will pop up asking if you want to set up Fibaro. Click OK.
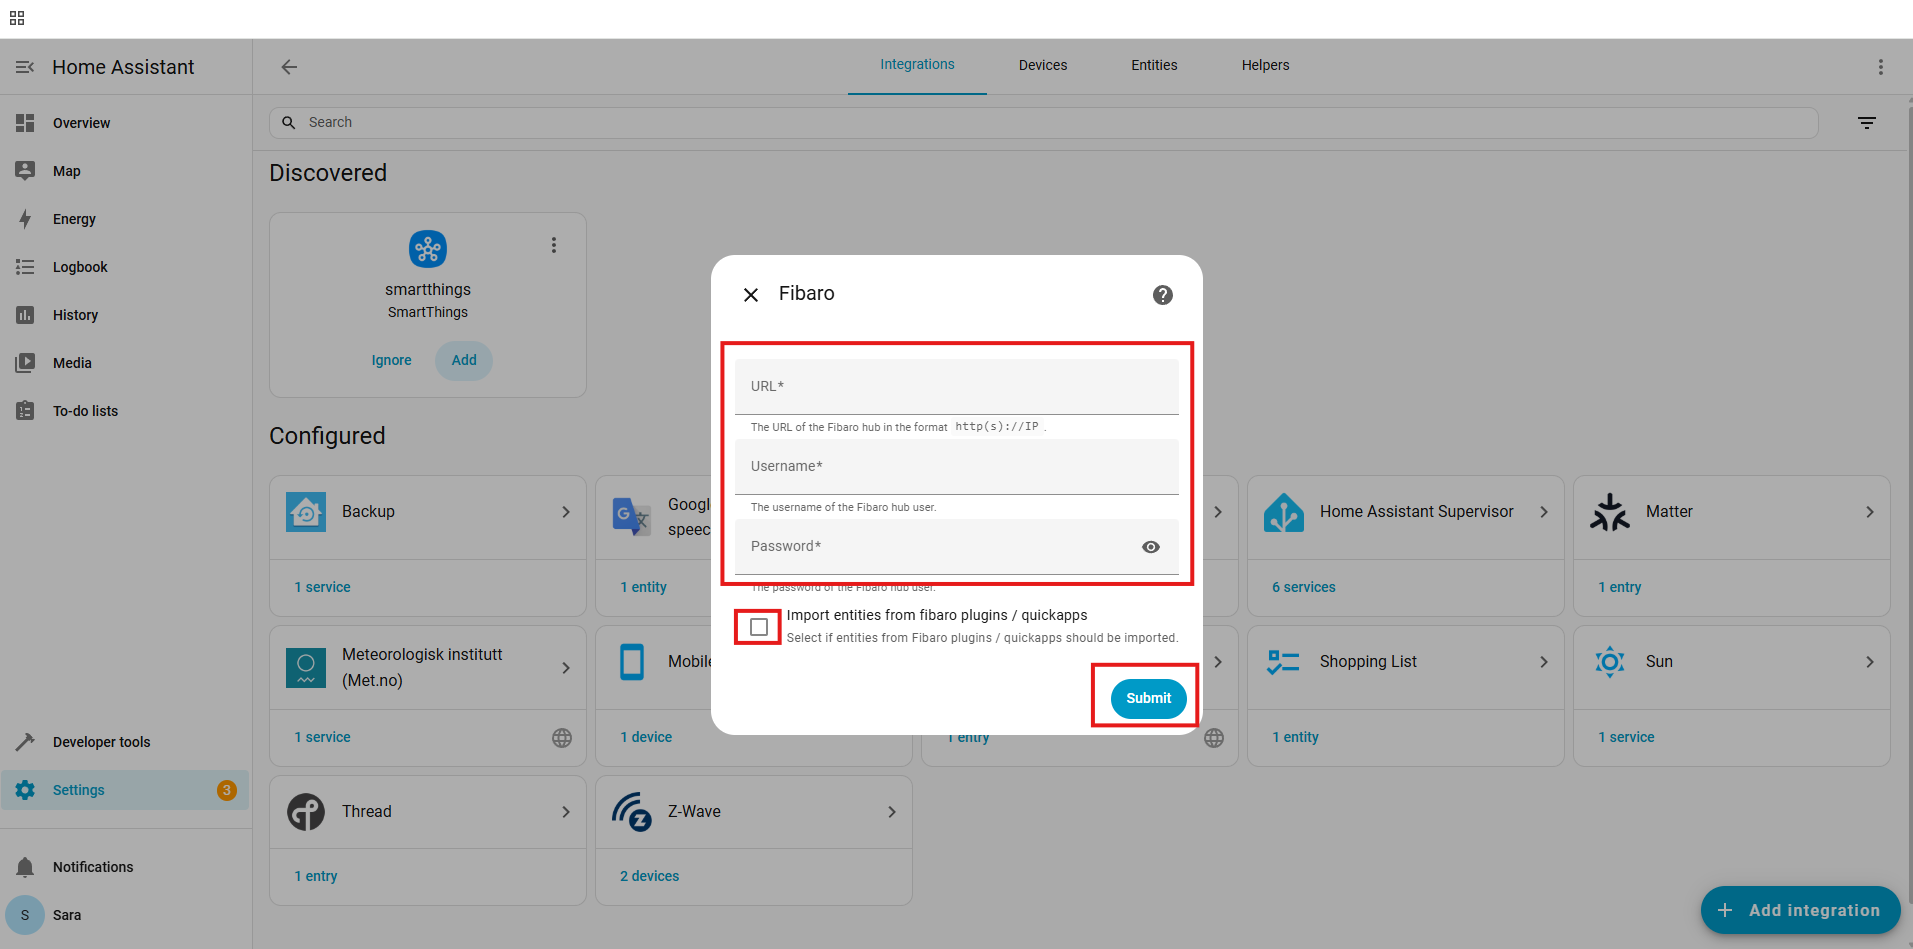
4. You will need to enter your Z-Box URL, Username, and Password. We would recommend using the IP address for your Z-Box. You can find this by going to Settings > Network > IP Address. Please note: you must add http:// before the IP address for it to be accepted. Ensure your username and password match your local login information for the Z-Box.
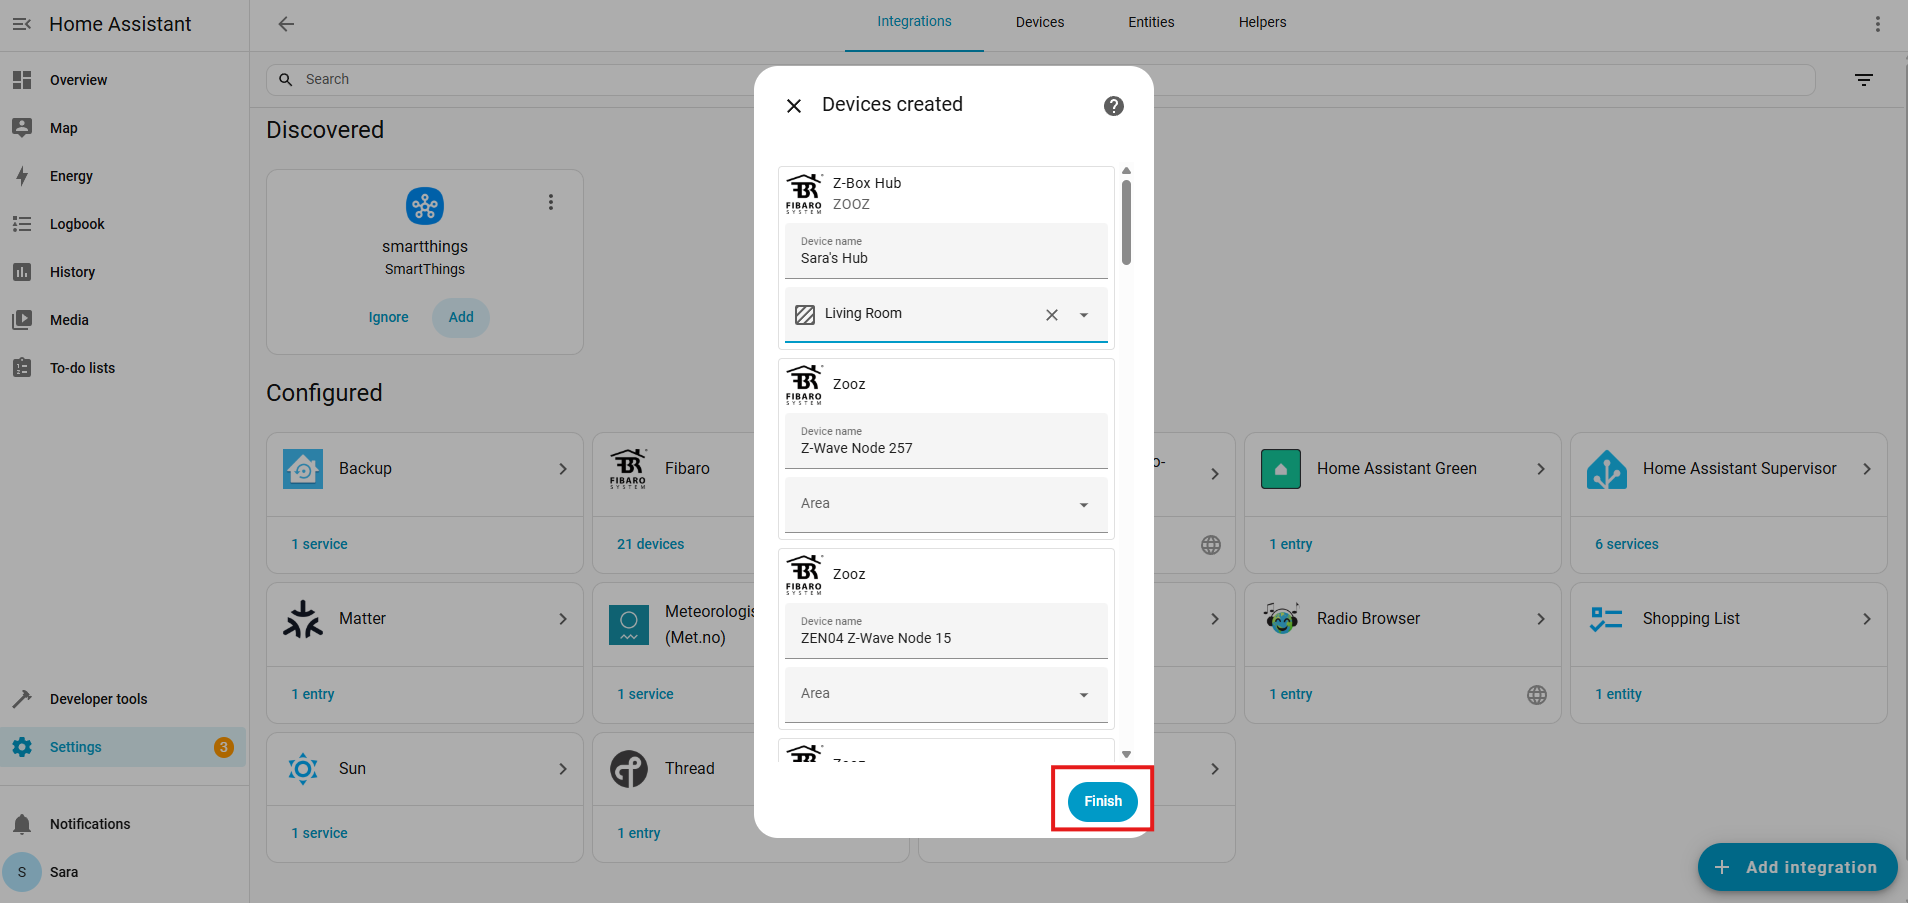
5. You can add the newly imported devices to your preferred rooms, etc. Click Finish when you are done.
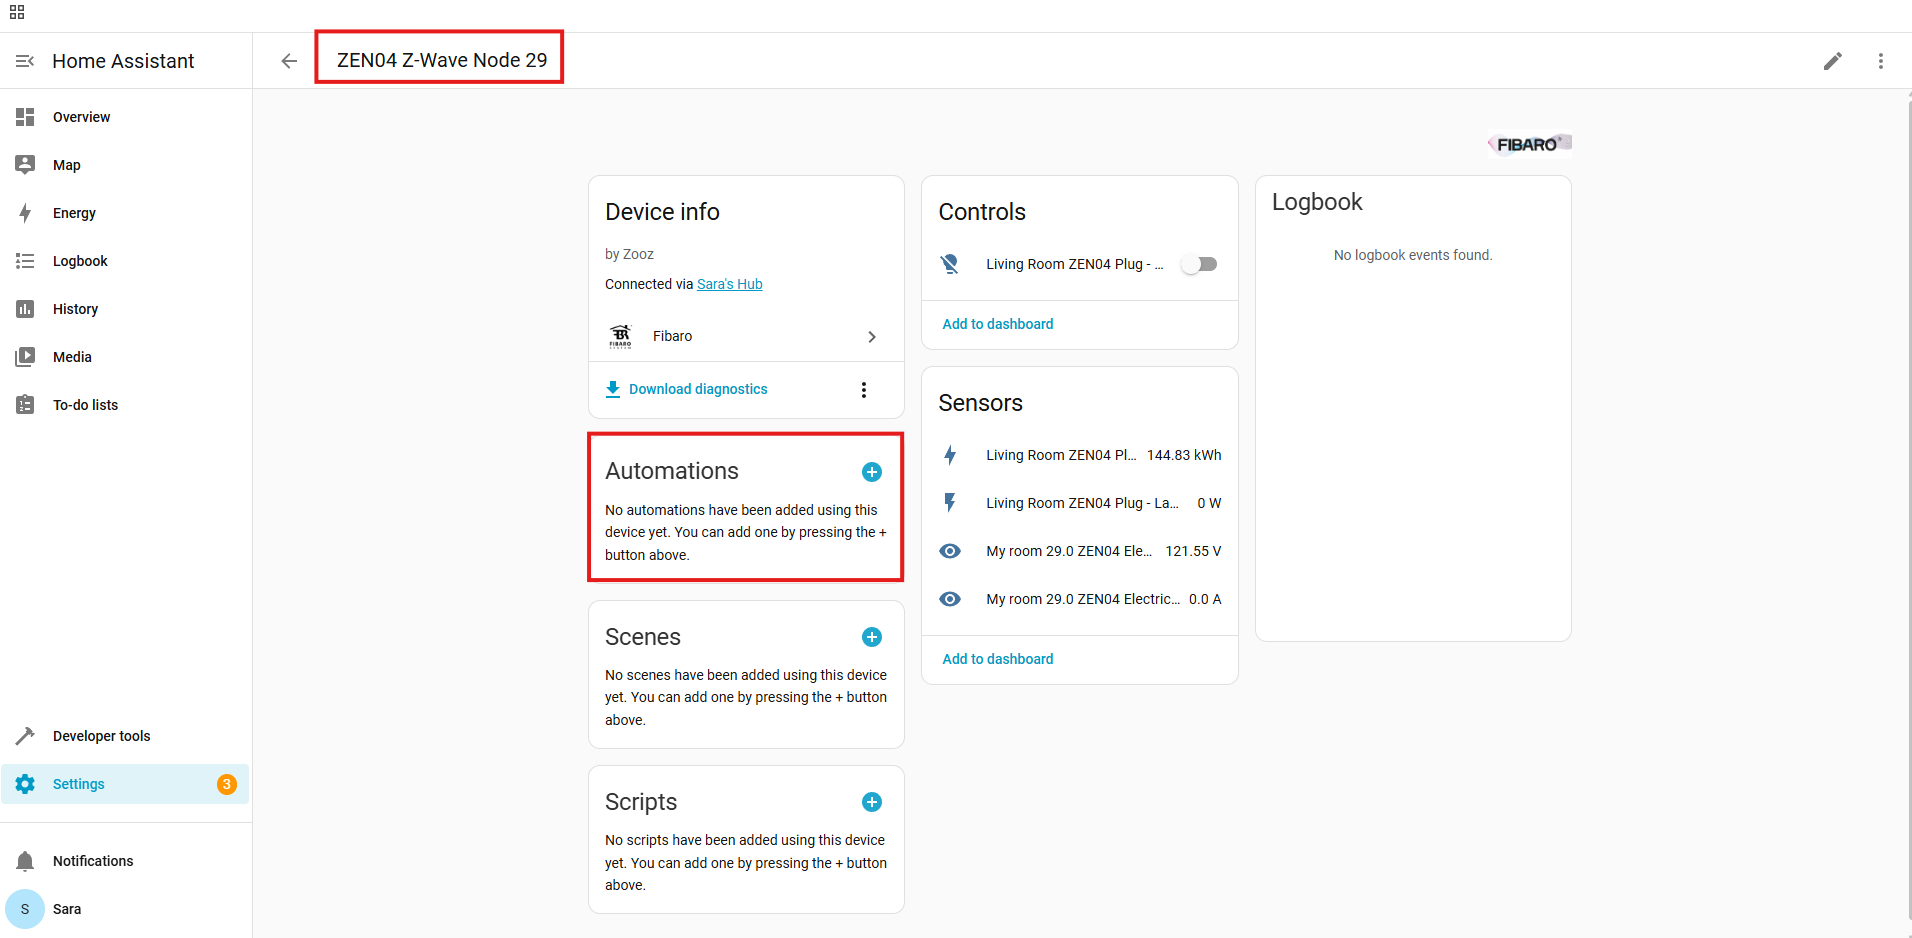
6. You can now create automations with your Z-Box devices using any other device integrated with your Home Assistant.
Let us know if you have any questions!

