
 3225
3225
A properly configured Z-Wave network is essential for ensuring the dependable operation of your smart home.
If you ever encounter issues with your Z-Wave network, you might be able to use some of the below options to help with troubleshooting the issues. It is strongly recommended that any changes in this section be made by experienced users only.
Available options under the Z-Wave setting menu are:
- Reconfigure all devices
- Broadcast “Node Information” frame
- Start Learn Mode
- Reset all Meters
- Reset Z-Wave
- Add device using Smart Start
- Perform Device firmware update
TO ACCESS THE Z-WAVE SETTINGS MENU:
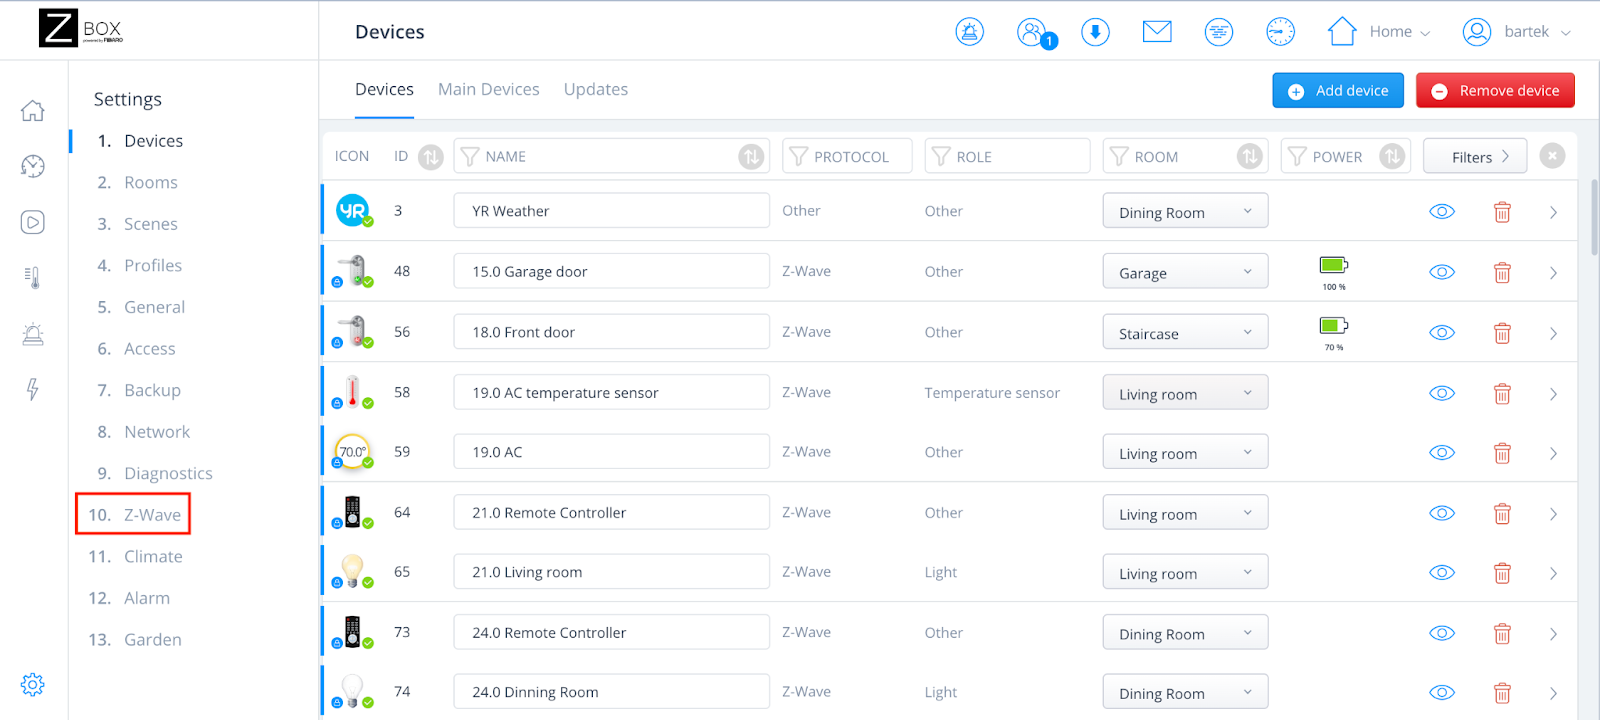
1. From the sidebar navigation menu of the Z-Box web interface, go to Settings.
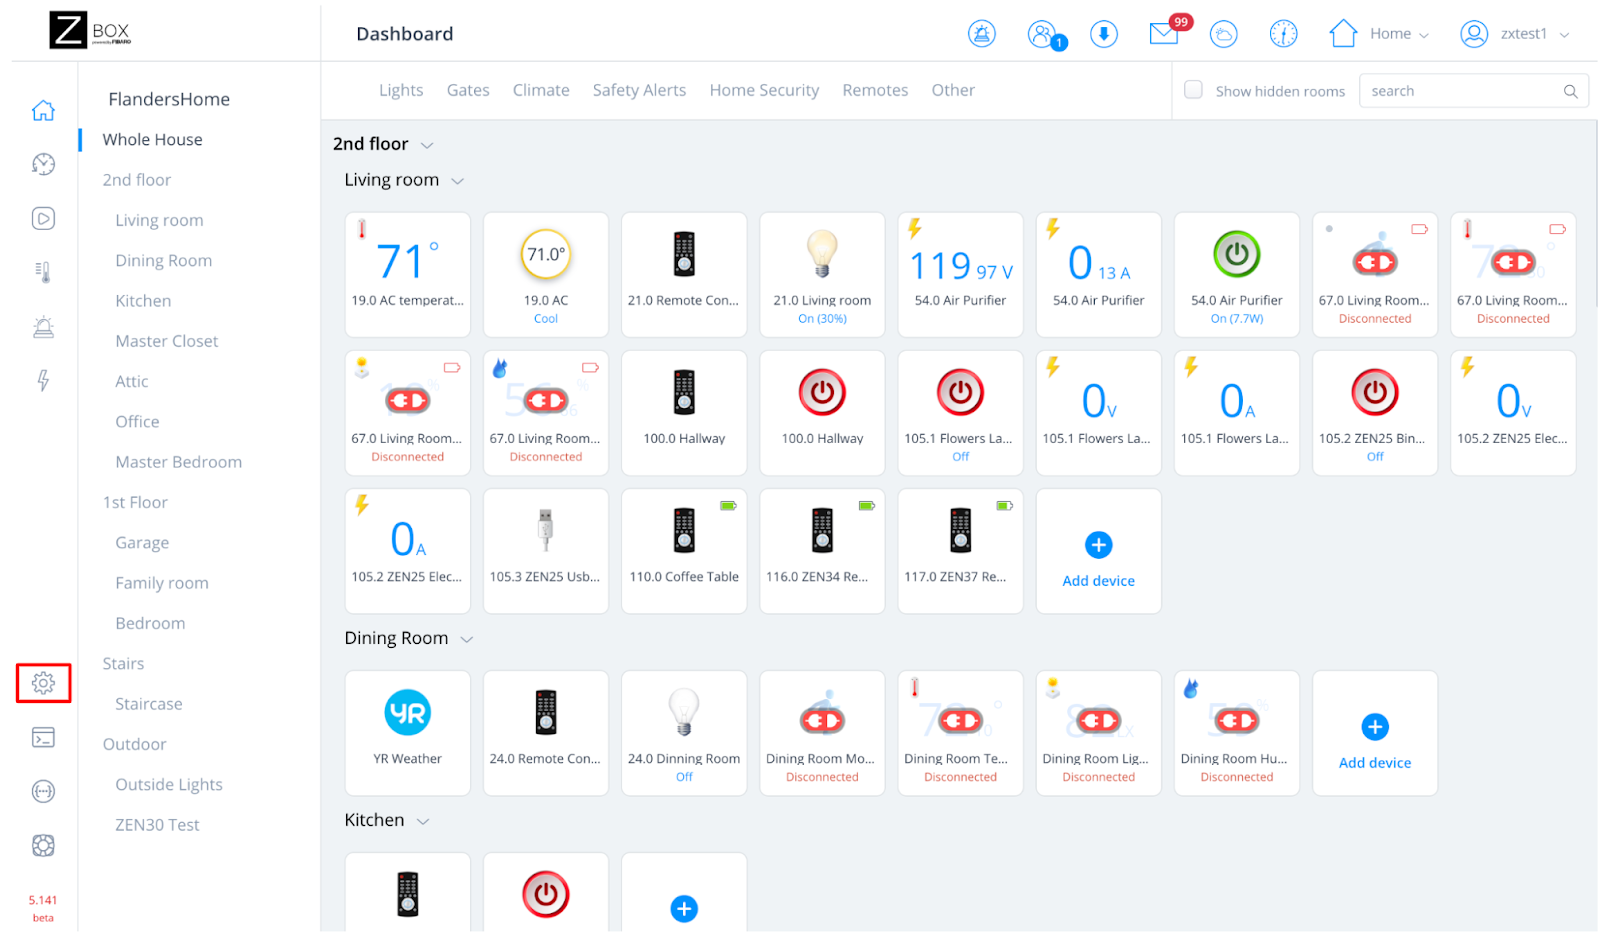
2. Next, click on Z-Wave.
3. The following options will be displayed.
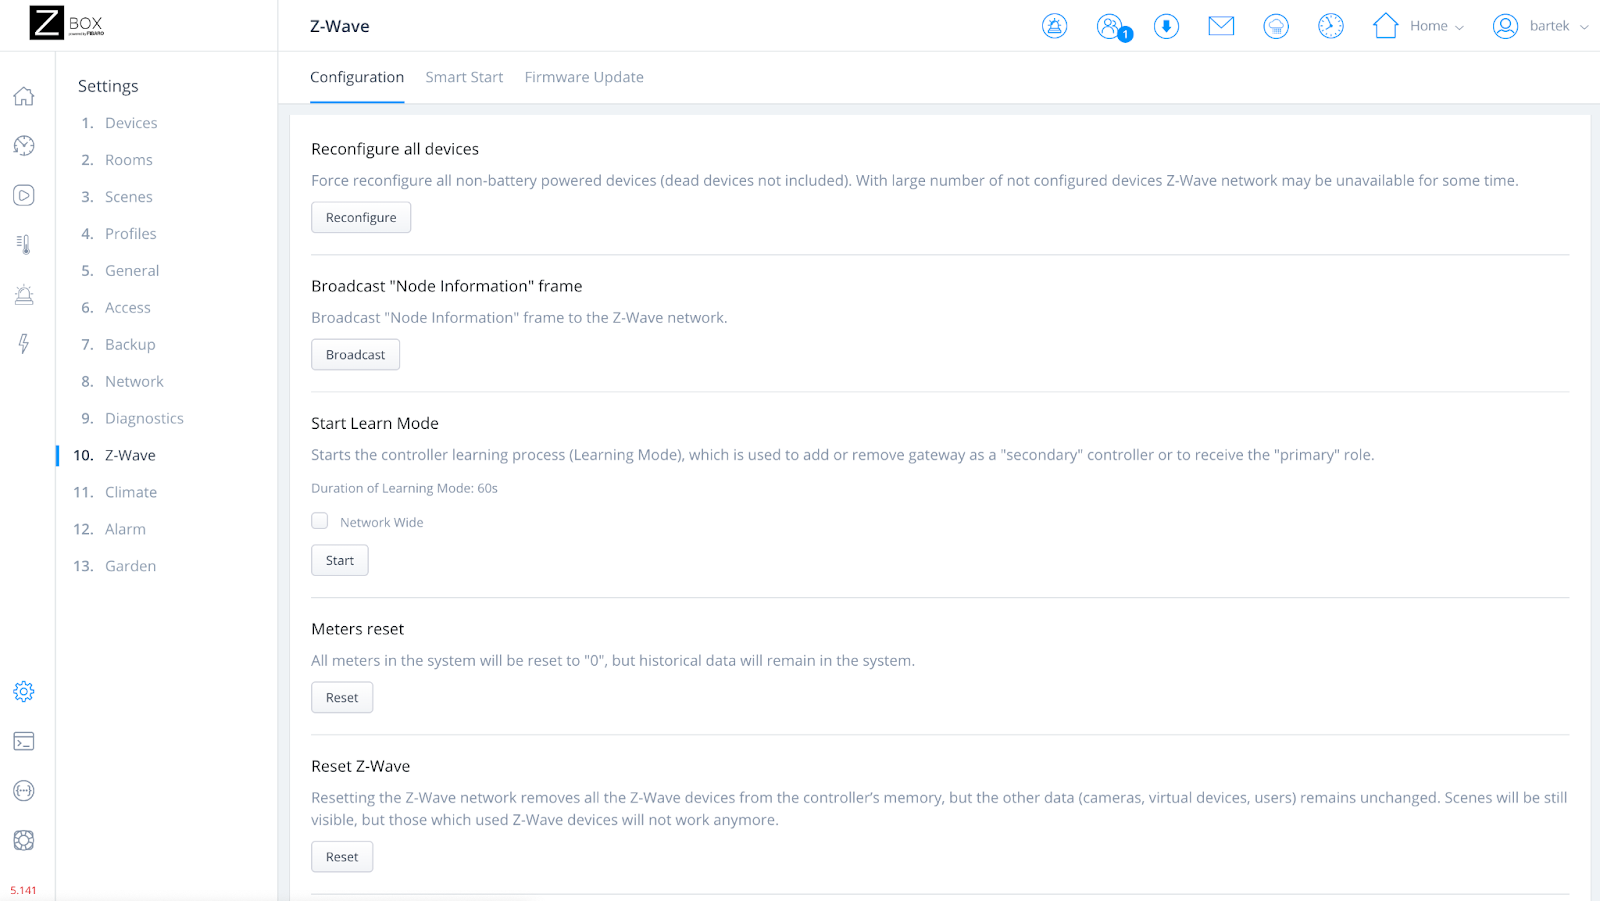
CONFIGURATION TAB
This tab will allow you to:
- Check the Z-Wave chip firmware of your hub
- Check the number of Z-Wave devices added to your hub
- Execute troubleshooting functions such as reconfiguring, broadcast nodes, resetting energy meters
- Add your Z-Box hub as a secondary controller in another network

1. Reconfigure all devices.
This will initiate a comprehensive reconfiguration for all devices powered by sources other than batteries (excluding non-responsive devices).
Note: When dealing with a substantial quantity of unconfigured devices, it's important to note that the Z-Wave network may experience periods of unavailability.
The reconfiguration option is also available from the individual device settings menu. Reconfiguring individual devices is recommended whenever possible as the full network reconfiguration takes up a lot of resources and might impact your network’s performance. To reconfigure an individual device navigate to Settings > Devices > Select Device you want to reconfigure > Device Configuration > Reconfigure Device.
When using the Reconfigure all devices option, all devices will undergo a complete reconfiguration process, involving their removal from and subsequent addition to the Z-Wave network. This procedure will result in changes to device IDs, and all parameters and settings will be reset.
Scenes containing reconfigured devices will require modification due to the altered IDs.
To include battery-powered devices in the reconfiguration, it's necessary to enable auto-configuration, but please be aware that the duration of this process may vary based on the devices' wake-up intervals.
2. Broadcast “Node Information” frame.
The hub transmits a node information frame. A node information frame is a component of the Z-Wave protocol that outlines the capabilities of the node. This data includes details such as the node’s type, its ability to act as a frame repeater, and other crucial information pertaining to the protocol. Additionally, it provides information about the Home ID and Node ID.
3. Start Learn Mode.
Learn mode should be used when you try to add your Z-Box to another network. Learning Mode is used to add or remove a hub as a “secondary” controller or to receive the “primary” role.
- Before proceeding, ensure that you remove all Z-Wave devices from your Z-Box.
- Activate the Add Mode on the other hub as per the hub instructions.
- Activate the Learn Mode on the Z-Box hub by accessing Settings > Z-Wave > Configuration > Start Learn Mode. Learn mode will last 60 seconds.

- Follow the instructions provided by the other hub to finalize the process. When prompted to input the DSK (Device Specific Key), you can obtain it from the Console menu on the Web UI. Most likely you will be asked for the first 5 digits of the DSK code.
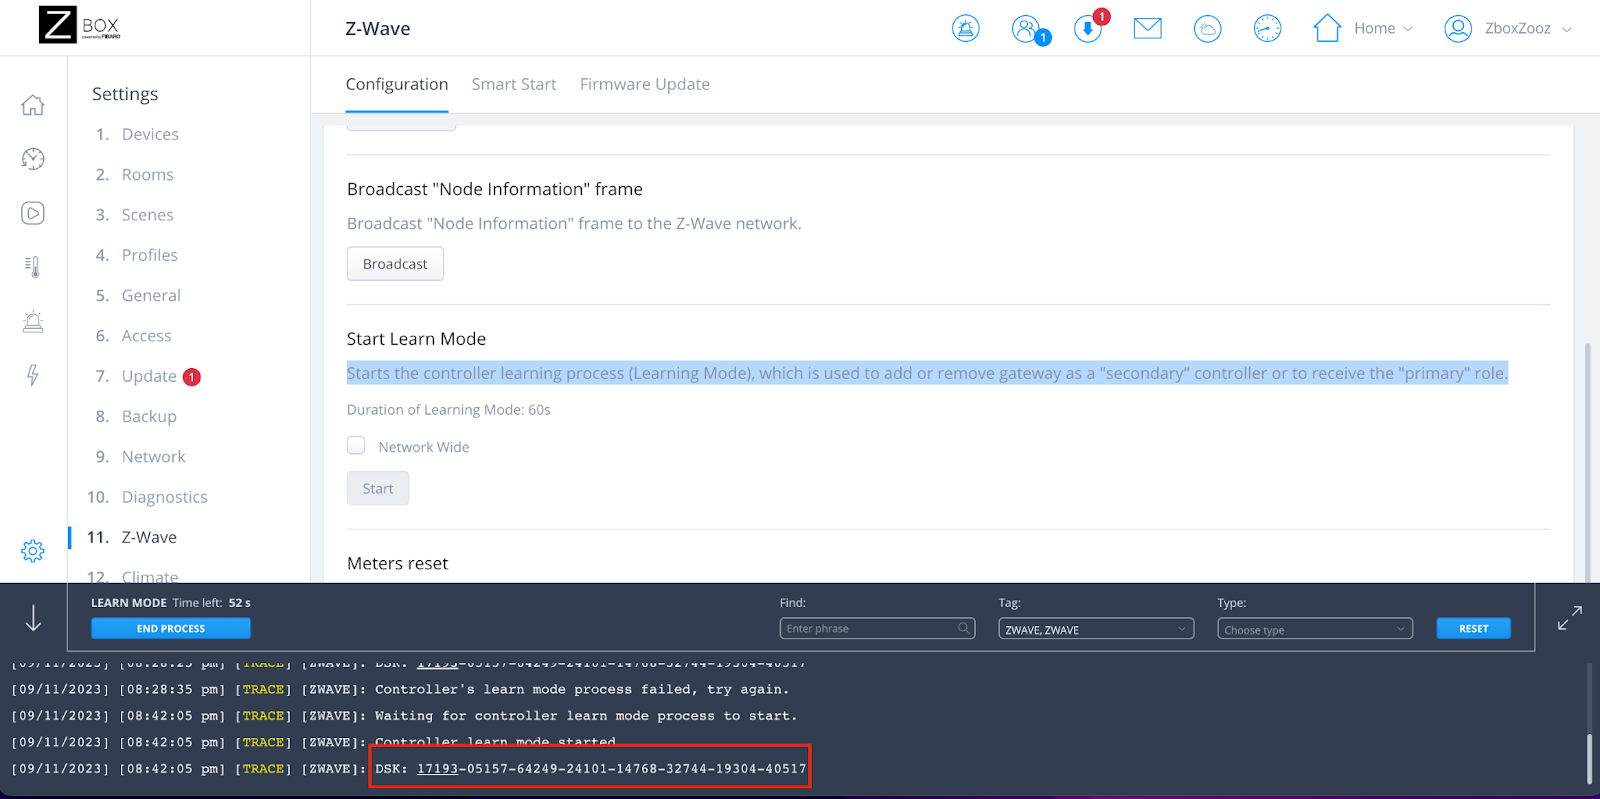
Once the process is completed, your hub will request a copy of the configuration from the other Z-Wave network. Your network devices will be now accessible from Web UI and mobile applications.
4. Meters Reset.
All Energy meters will be reset to 0. Note that all of the historic consumption data will remain in the system.
5. Reset Z-Wave.
Performing a reset of the Z-Wave network erases all Z-Wave devices from the hub’s memory while leaving other data such as cameras, virtual devices, and user information untouched. Scenes associated with Z-Wave devices will still be visible, but those reliant on Z-Wave devices will fail.
SMART START TAB
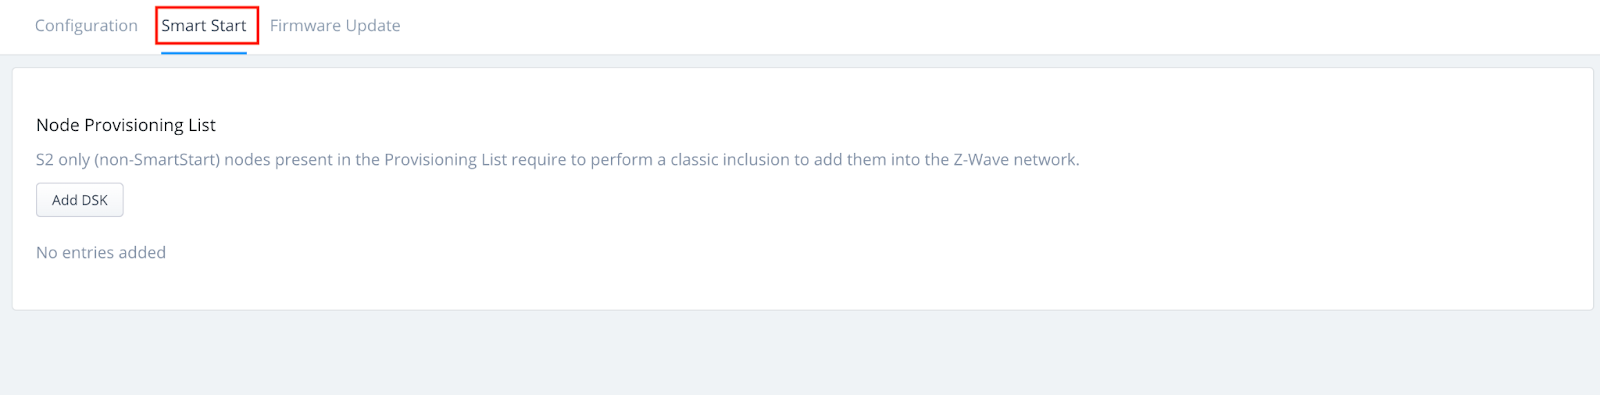
1. Adding Devices via SmartStart.
SmartStart-enabled products can be seamlessly integrated into a Z-Wave network by entering the Z-Wave DSK found on the product.
Important: For Smart Start to work both the controller/hub and the smart device have to support Smart Start
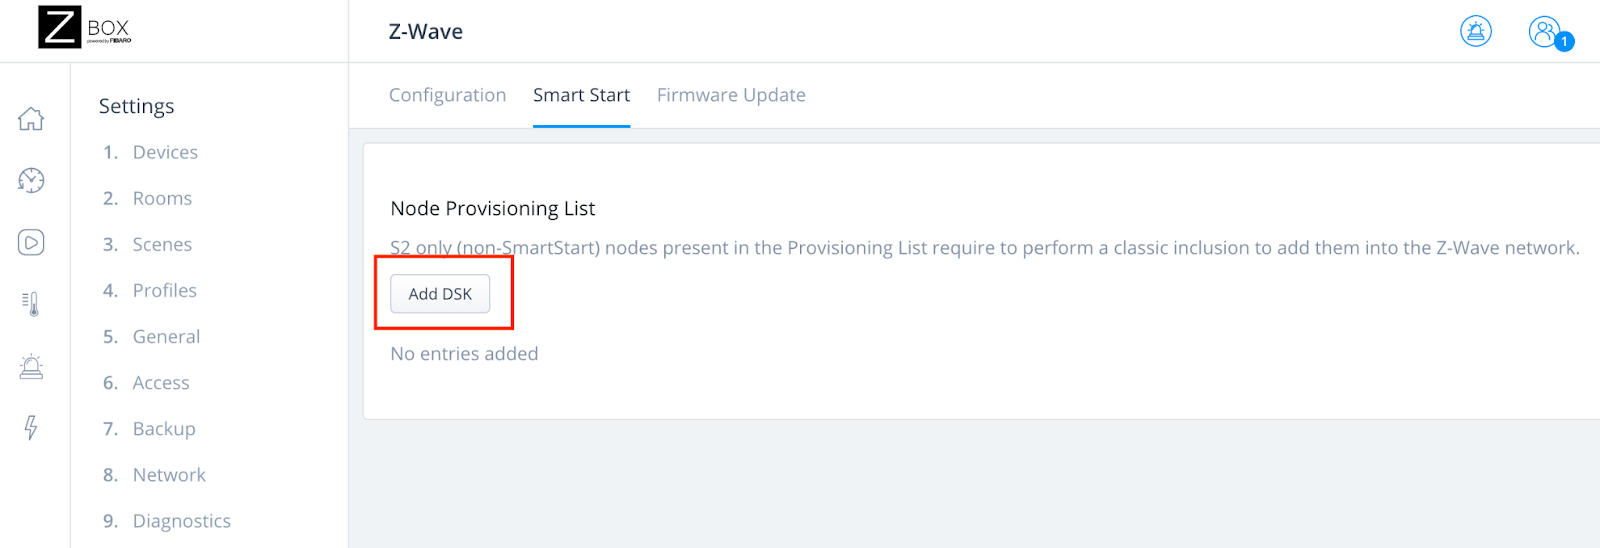
- Click on Add DSK under the Smart Start tab on the Z-Wave Settings menu.
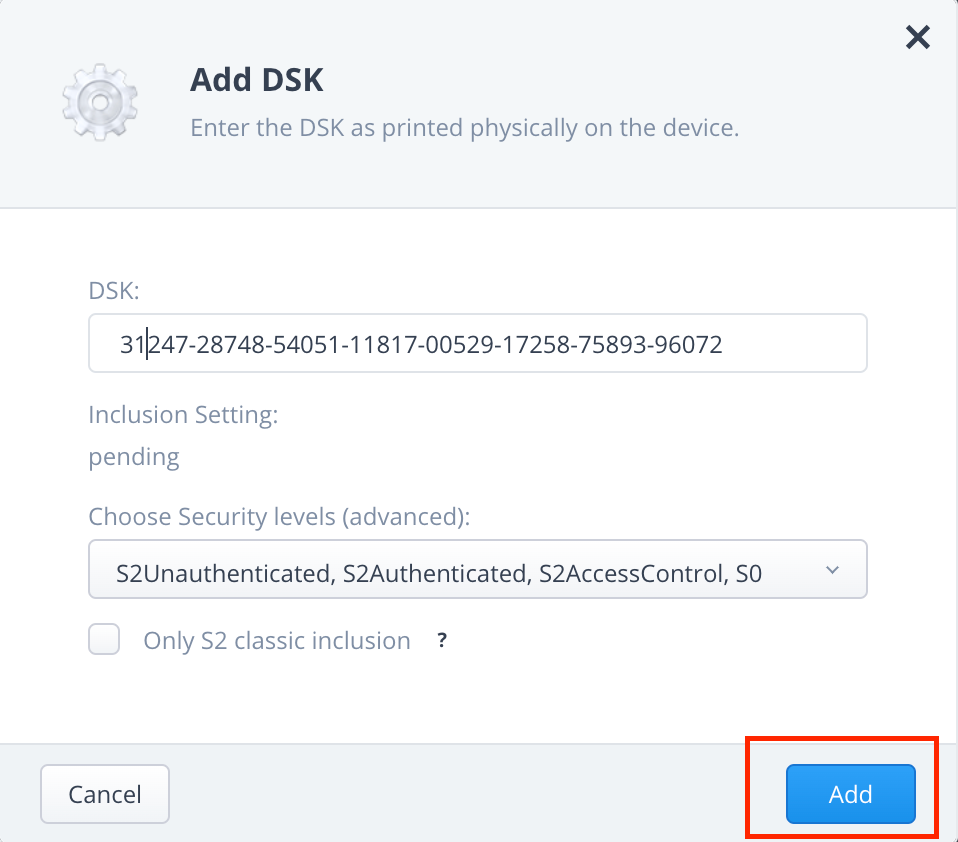
2. Enter the DSK string code as printed on the device or device packaging. Leave the Default Security settings as is and click Add.
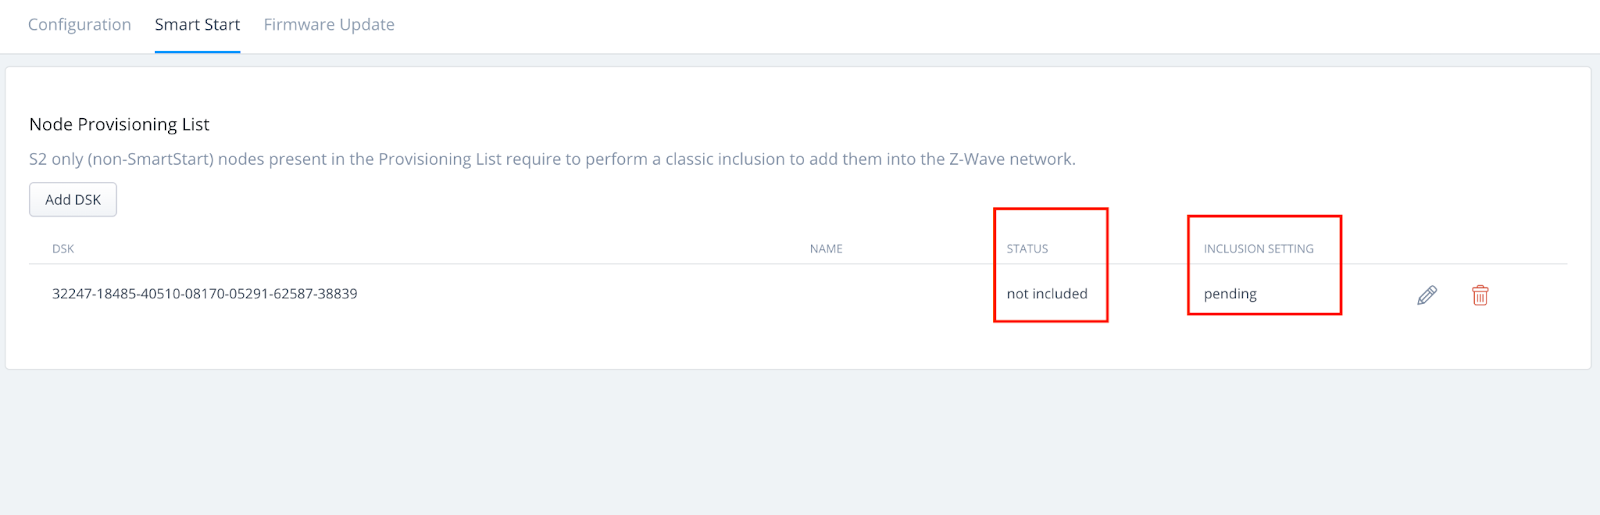
3. You will see a DSK added successfully message and the DSK will be displayed under Node Provisioning List. Status and Inclusion Settings will show as not included and pending respectively until the device is added to the system.
4. Next, power the device and allow a few minutes for the device to be included in the system automatically. The LED sequence on the hub will change as the device is included:
- Green - successful (non-secure, S0, S2 non-authenticated)
- Magenta - successful (security S2 Authenticated)
- Red - not successful
In case the inclusion fails, please reset the device and repeat the steps for Smart Start inclusion or follow the standard inclusion process.
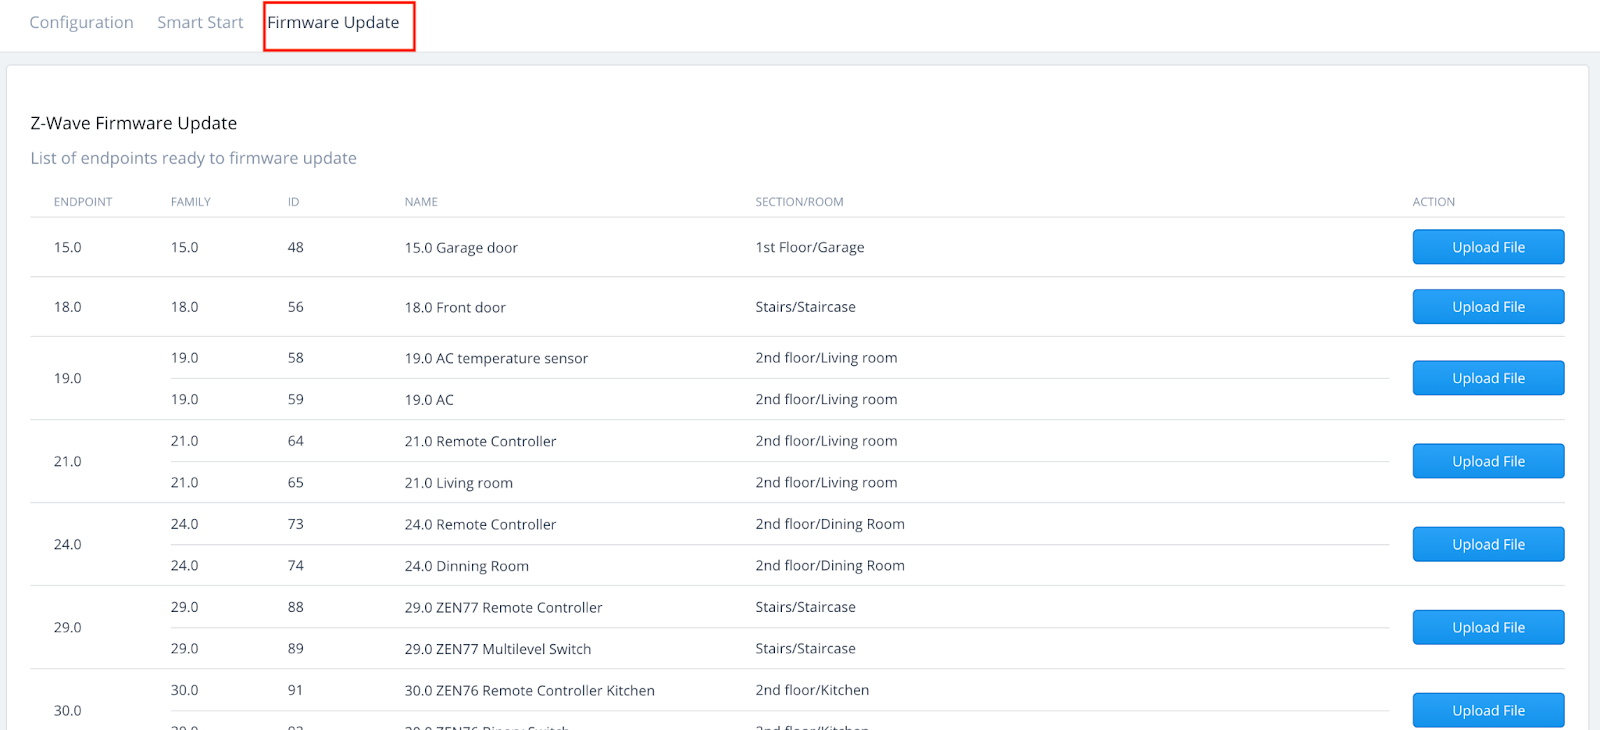
FIRMWARE UPDATE TAB
Use this option to perform the Over-The-Air updates of your Z-Wave devices. Please visit the OTA Update Z-Wave Devices Using Z-Box Hub article to learn more on how to perform the updates.
Please don't hesitate to reach out with any questions you may have; we're happy to help!

